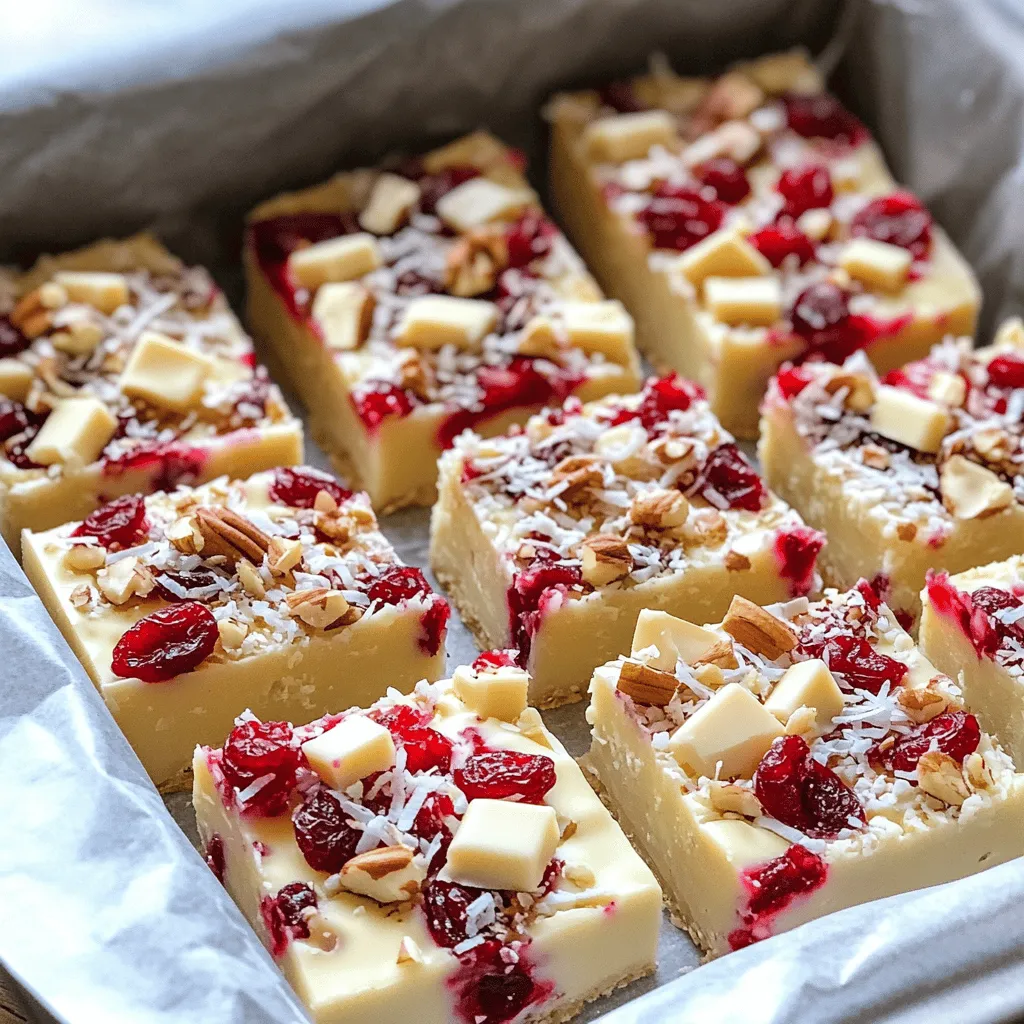
Get ready for a sweet treat that’s easy to make and perfect for any occasion! My No Bake White Chocolate Cranberry Bars blend creamy white chocolate with tangy cranberries and crunchy nuts, creating a delightful snack. No oven is needed, just some mixing and refrigerating. Whether you’re a seasoned baker or a kitchen newbie, these bars are sure to impress. Let’s dive into the simple steps and ingredients you need to whip up this tasty delight!
Why I Love This Recipe
- Easy to Make: This no-bake recipe requires minimal effort and just a few simple steps, making it perfect for both novice and experienced bakers.
- Delicious Flavor Combination: The sweetness of white chocolate paired with tart cranberries offers a delightful contrast that is sure to please everyone.
- Perfect for Any Occasion: These bars are great for parties, potlucks, or a sweet treat at home, making them versatile for any event.
- Make-Ahead Treat: Since they need to chill in the refrigerator, you can prepare them in advance, saving you time on the day of your gathering.
Ingredients
List of Required Ingredients
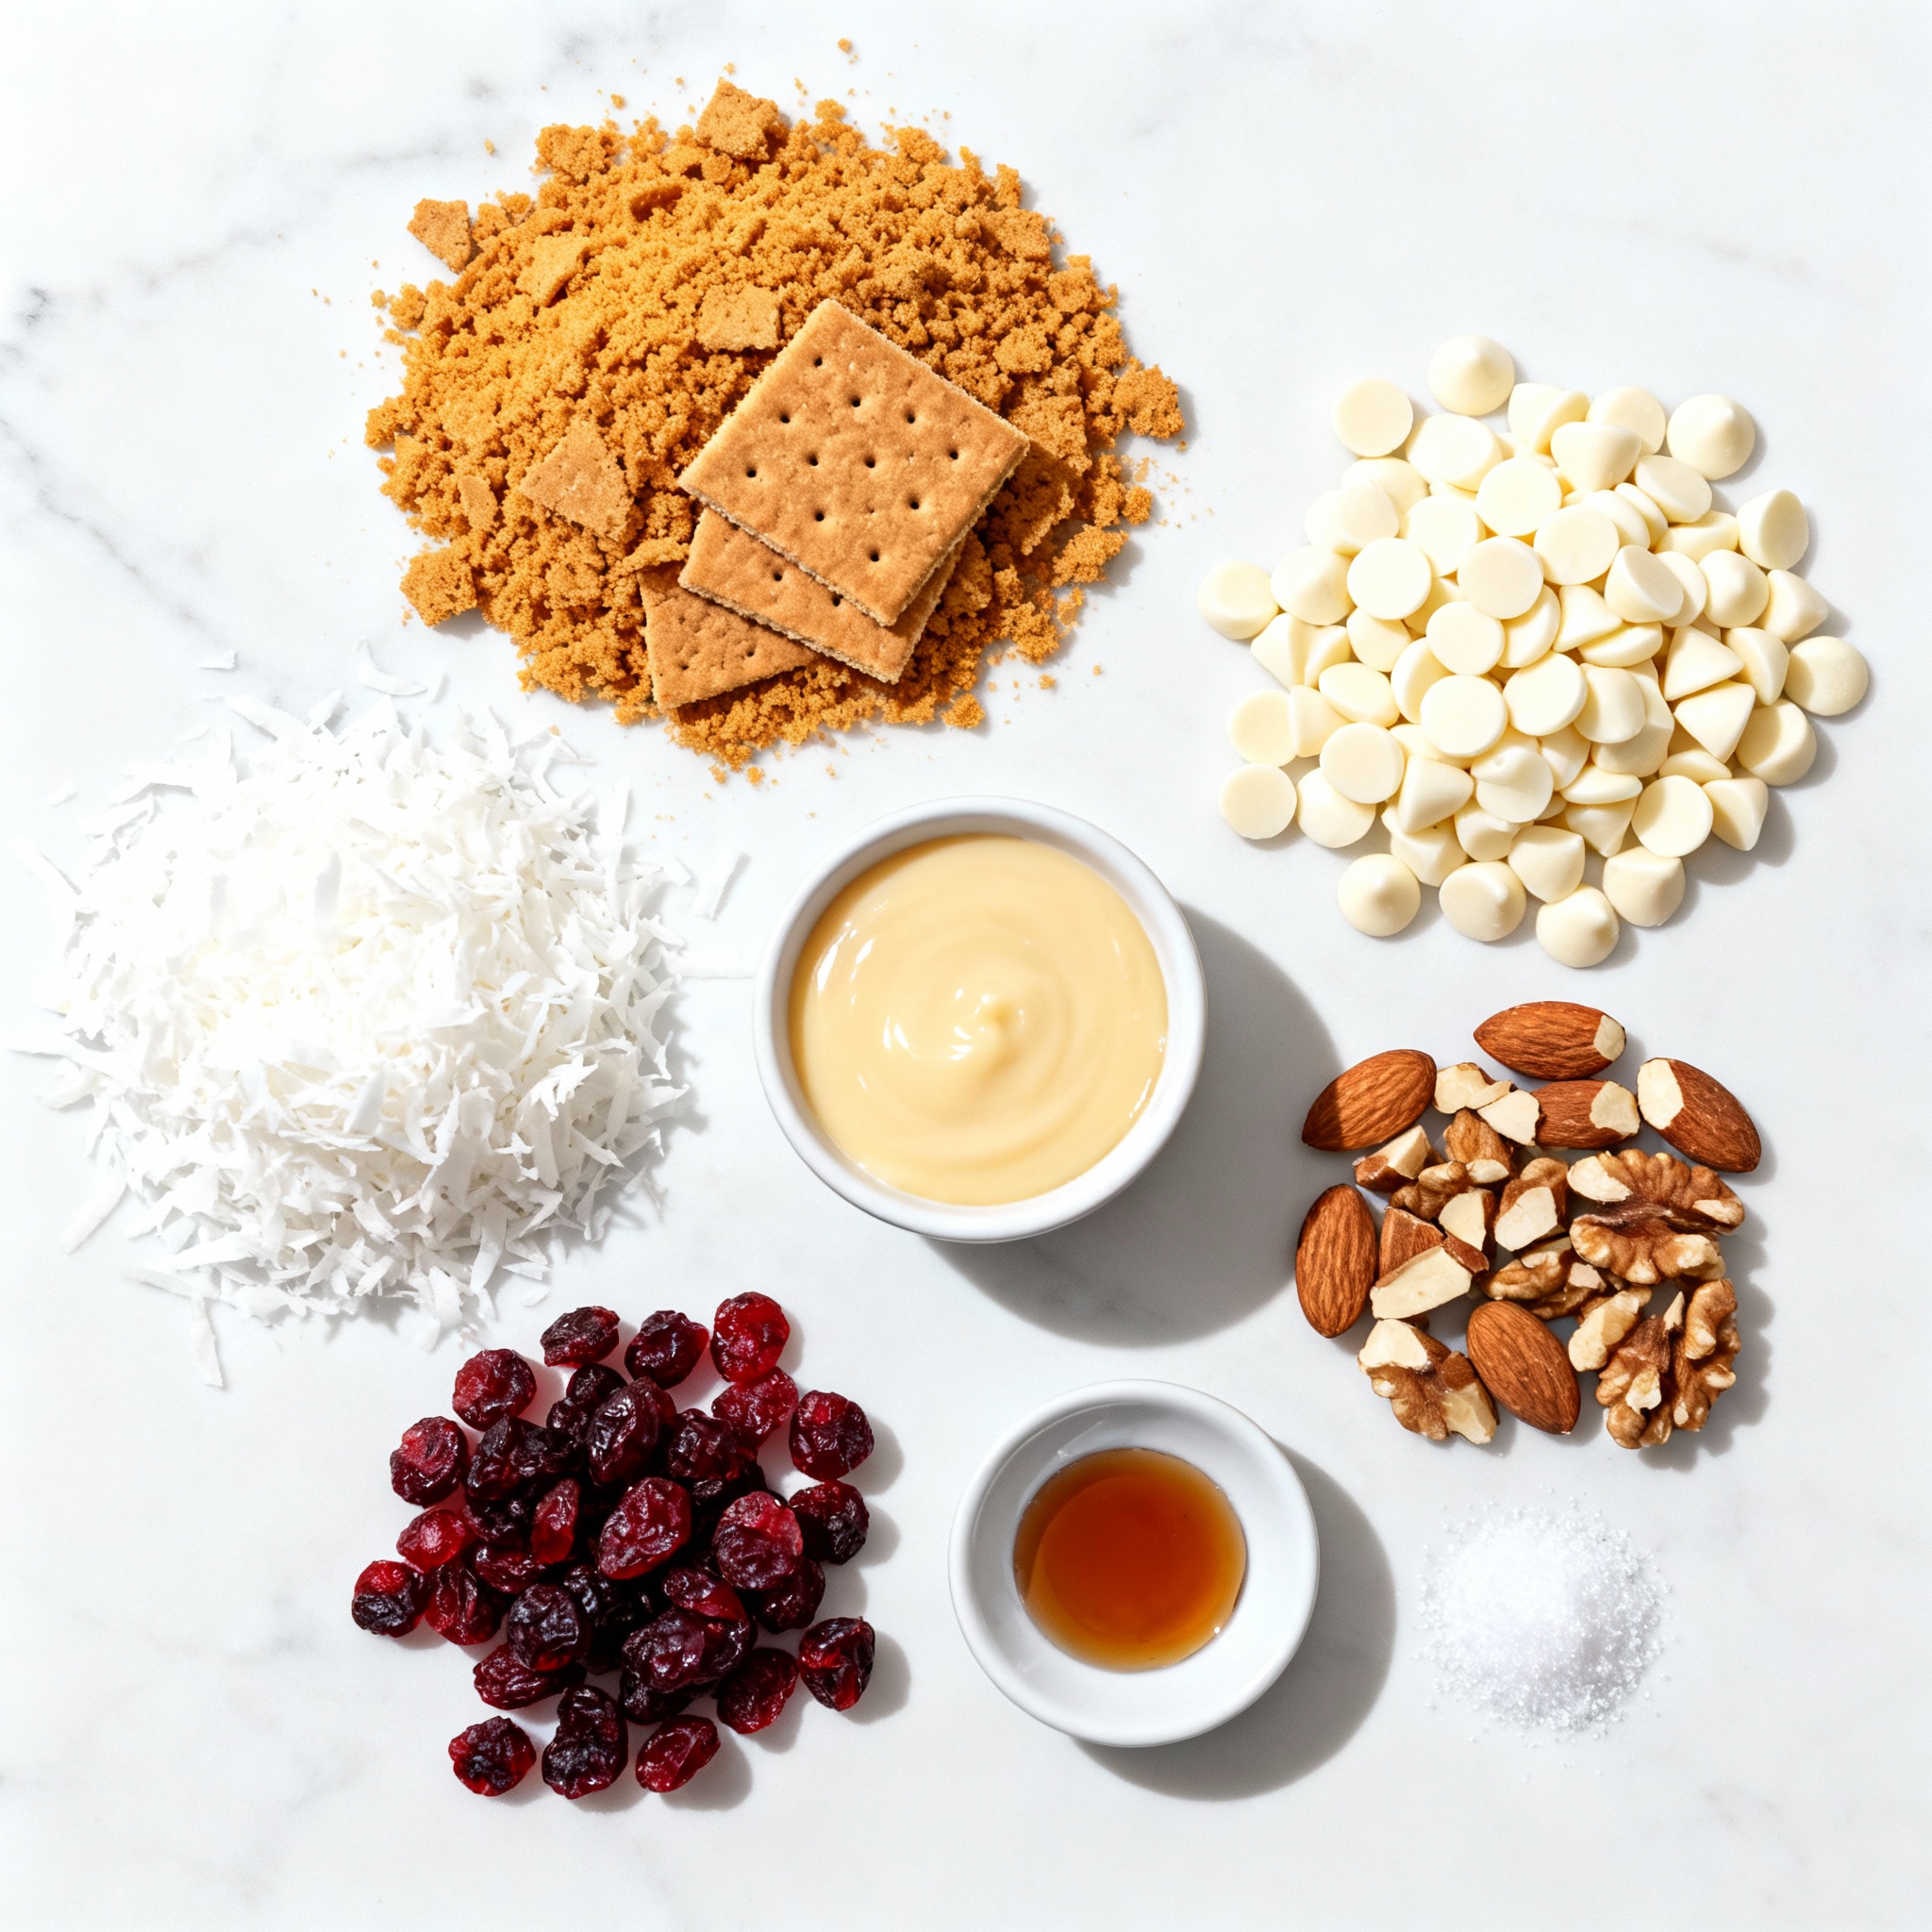
To make No Bake White Chocolate Cranberry Bars, you will need these ingredients:
– 1 ½ cups graham cracker crumbs
– ½ cup unsweetened shredded coconut
– 1 cup white chocolate chips
– ½ cup sweetened condensed milk
– 1 cup dried cranberries
– ½ cup chopped nuts (almonds or walnuts)
– 1 teaspoon vanilla extract
– A pinch of salt
Ingredient Substitutions
You can easily adjust some ingredients if needed:
– For graham cracker crumbs, you can use crushed cookies like digestive biscuits or vanilla wafers.
– If you want alternatives to white chocolate chips, try using milk chocolate or dark chocolate chips.
– For a nut-free version, skip the nuts or use seeds like pumpkin seeds or sunflower seeds.
These substitutions help you customize the bars to your taste or dietary needs.
Step-by-Step Instructions
Preparation Steps
1. Lining the baking dish: Start by lining an 8×8 inch baking dish with parchment paper. Leave some paper hanging over the edges. This helps with easy removal later.
2. Mixing dry ingredients: In a large mixing bowl, combine 1 ½ cups of graham cracker crumbs, ½ cup of unsweetened shredded coconut, and a pinch of salt. Mix these dry ingredients well. This blend forms the base of your bars.
3. Melting white chocolate: In a small microwave-safe bowl, add 1 cup of white chocolate chips. Heat them in the microwave in 30-second bursts. Stir in between until the chocolate is smooth. This step is key for a creamy texture.
Combining Ingredients
1. Incorporating melted chocolate with dry mix: Pour the melted white chocolate into the dry mixture. Add ½ cup of sweetened condensed milk and 1 teaspoon of vanilla extract. Stir well until everything is blended together smoothly.
2. Folding in cranberries and nuts: Now, add 1 cup of dried cranberries and ½ cup of chopped nuts, like almonds or walnuts. Gently fold these into the mixture. This adds great flavor and texture to the bars.
Setting the Bars
1. Pressing the mixture into the dish: Transfer the mixture to the prepared baking dish. Use a spatula or your hands to press it down firmly. Make sure it is evenly flattened. This helps the bars hold their shape.
2. Refrigeration time and tips: Place the dish in the refrigerator for at least 2 hours. This allows the bars to set completely. For best results, cover the dish lightly with plastic wrap to prevent moisture from forming.
Pro Tips
- Chill the Ingredients: For a firmer texture, chill the graham cracker mixture and melted chocolate before combining. This will help the bars hold their shape better.
- Mix-in Variations: Feel free to experiment with different nuts or add a sprinkle of cinnamon for a unique flavor twist.
- Storage Tips: Store the bars in an airtight container in the refrigerator for up to one week for optimal freshness.
- Cutting the Bars: Use a sharp knife to cut the bars after they’ve set completely for clean edges and a professional look.
Tips & Tricks
Ensuring Perfect Bars
How to properly melt chocolate: To melt white chocolate, use a microwave-safe bowl. Heat for 30 seconds at a time. Stir between each heating session. This method helps you avoid burning the chocolate. Stop when it is smooth and creamy.
Tips for compressing the mixture: After mixing all your ingredients, press them firmly into the baking dish. Use a spatula or your hands to flatten it evenly. This step helps the bars hold their shape when cut.
Serving Suggestions
Ideal accompaniments: These bars pair well with a cup of tea or coffee. You can also serve them with fresh fruit. Strawberries or raspberries add a nice touch.
Presentation ideas: Cut the bars into neat squares for serving. Arrange them on a pretty platter. You can sprinkle some extra cranberries or nuts on top for visual appeal.
Common Mistakes to Avoid
Overheating chocolate: Make sure to heat the chocolate slowly. If you overheat it, it will become thick and clumpy. This will ruin the texture of your bars.
Skipping refrigeration time: Do not rush the refrigeration step. Let the bars chill for at least two hours. This helps them set properly and stay firm when you cut them.
Variations
Flavor Variations
You can mix things up by adding different dried fruits or spices. Try using raisins, apricots, or even cherries. Each fruit will bring its own unique taste. Adding spices like cinnamon or nutmeg can also enhance the flavor profile. For chocolate lovers, using dark or milk chocolate can change the taste entirely. Dark chocolate adds depth, while milk chocolate offers a creamy sweetness.
Texture Variations
Adding oats or seeds can give your bars a hearty crunch. You might try rolled oats, chia seeds, or flaxseeds. Each option adds a nice bite. If you want more crunch, consider using different types of nuts. Almonds lend a mild flavor, while walnuts add richness. You can even mix and match to find your perfect blend.
Themed Variations
You can create holiday-inspired recipes by changing the mix-ins. For example, add peppermint extract for a festive twist during the winter season. Using seasonal fruits like pumpkin or apple can also make these bars feel special. With a few changes, you can adapt this recipe to fit any celebration.
Storage Info
Best Practices for Storage
To keep your no bake white chocolate cranberry bars fresh, use an airtight container. This helps lock in moisture and flavor. You can also use a glass dish with a lid. To prevent sticking, place a layer of parchment paper between the bars and the container. This makes it easy to lift and cut them later.
Freezing Instructions
If you want to store these bars for longer, freezing is a great option. Cut the bars into squares before freezing. Wrap each piece in plastic wrap or foil. Place them in a freezer-safe bag or container. To enjoy, thaw the bars in the fridge overnight. This keeps them tasting fresh and delicious.
Shelf Life
In the fridge, your bars will last about one week. Look for signs of spoilage like a change in color or smell. If they feel dry or hard, it’s best to toss them. Enjoy your no bake white chocolate cranberry bars while they are fresh!
FAQs
What is the best way to cut no-bake bars?
To cut no-bake bars neatly, use a sharp knife. First, chill the bars well. Then, lift them out of the dish using the parchment paper. Place them on a cutting board. For cleaner cuts, warm the knife under hot water. Wipe it dry before each cut. This method gives you clean squares.
Can I use fresh cranberries instead of dried?
You can use fresh cranberries, but they offer a different taste and texture. Fresh cranberries are tart and juicy. They change the bar’s sweetness, making it less sweet. Dried cranberries are sweet and chewy, balancing the flavors well. If you prefer fresh cranberries, consider adding a bit more sugar.
How long do these bars take to set?
These no-bake bars need about two hours to set in the fridge. This time helps the layers firm up. Make sure to cover them with plastic wrap for best results. If you want to speed up the process, you can chill them in the freezer for about 30 minutes.
In this blog post, I covered how to make no-bake bars. We explored the key ingredients, like graham cracker crumbs and white chocolate. I shared step-by-step instructions for mixing and setting your bars. You learned tips for perfect results and various flavors to try.
These bars are easy and fun to make. Feel free to be creative with ingredients and storage options. Enjoy sharing these tasty treats with friends and family. Dive in and make your own bars today!
.png)


