Are you ready to indulge in an easy, delicious dessert? Peanut Butter S’mores Bars are the perfect treat for any occasion. With just a few simple ingredients, you can create a chewy, chocolatey delight that everyone will love. In this recipe, I’ll guide you step-by-step, ensuring you nail each layer. Let’s dive into the sweet world of Peanut Butter S’mores Bars and satisfy your cravings today!
Why I Love This Recipe
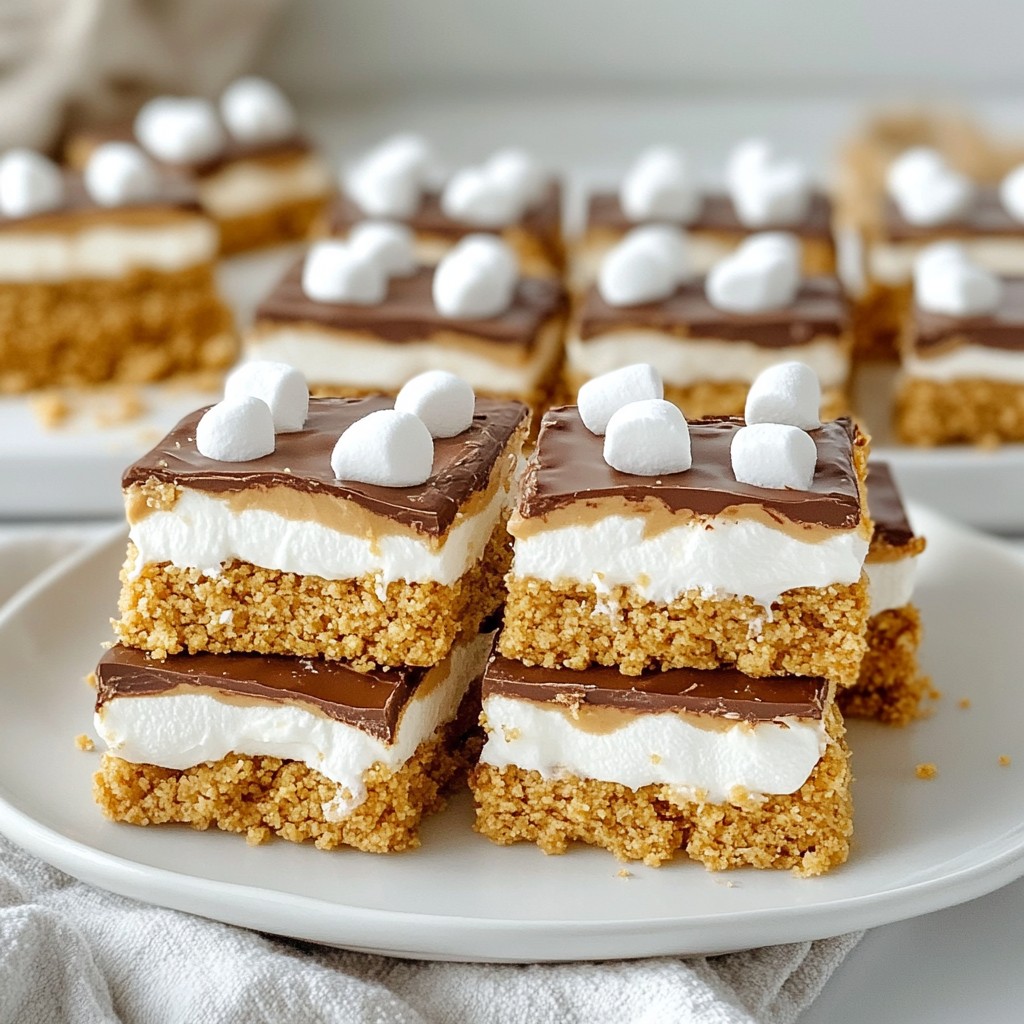
- Delicious Flavor Combination: The rich taste of peanut butter pairs perfectly with the sweetness of marshmallows and chocolate, creating a delightful treat.
- Easy to Make: This recipe requires minimal prep time and simple ingredients, making it accessible for bakers of any skill level.
- Great for Sharing: These bars are perfect for gatherings, ensuring there's enough to satisfy everyone’s sweet tooth.
- Customizable: Feel free to experiment with different types of chocolate or add nuts for extra texture and flavor!
Ingredients
List of Key Ingredients
- 1 cup graham cracker crumbs
- 1/2 cup unsweetened cocoa powder
- 1/2 cup creamy peanut butter
- 1/2 cup honey or maple syrup
- 1/4 cup melted coconut oil
To make Peanut Butter S’mores Bars, you need simple and tasty ingredients. First, graham cracker crumbs give the bars a nice base. Next, unsweetened cocoa powder adds a rich chocolate flavor. Creamy peanut butter brings creaminess and a nutty taste. Honey or maple syrup sweetens the mix, while melted coconut oil helps everything stick together.
Optional Ingredients for Variations
- 1 cup mini marshmallows
- 1/2 cup chocolate chips (milk or dark)
- A pinch of salt
For fun twists, consider adding mini marshmallows. They create a gooey texture. Chocolate chips, either milk or dark, enhance the chocolate flavor. A pinch of salt balances the sweetness and brings out all the flavors.
Tools Needed
- 8x8 inch baking dish
- Parchment paper
- Mixing bowls
You will need an 8x8 inch baking dish to shape the bars. Lining it with parchment paper makes it easy to lift the bars out later. Mixing bowls are essential for combining the ingredients. Using the right tools makes your baking smooth and fun.

Step-by-Step Instructions
Preparation Steps
1. Preheat your oven to 350°F (175°C).
2. Line an 8x8 inch baking dish with parchment paper for easy removal.
3. In a large mixing bowl, combine the graham cracker crumbs, cocoa powder, and a pinch of salt. Stir until mixed well.
Mixing the Ingredients
1. In another bowl, whisk together creamy peanut butter, honey or maple syrup, and melted coconut oil until smooth.
2. Pour the wet mix into the dry mix. Stir until fully combined. You should have a thick dough-like mixture.
Layering the Bars
1. Press half of the mixture firmly into the bottom of the prepared baking dish. This forms your base layer.
2. Evenly distribute the mini marshmallows over the base layer. Next, sprinkle the chocolate chips on top.
3. Crumble the remaining mixture over the marshmallows and chocolate. Cover it as evenly as you can.
Baking Process
1. Bake in the preheated oven for 15-18 minutes. Look for the marshmallows to be puffed and the top layer to appear set.
2. Remove from the oven and let cool in the pan for about 30 minutes. After that, transfer to the fridge for an hour to set completely.
3. Once set, cut into bars. You can serve them at room temperature or chilled. Enjoy!
Tips & Tricks
Baking Tips
To get the best texture for your Peanut Butter S’mores Bars, be sure not to overmix the dough. Mix until it just comes together. This helps keep the bars soft and chewy. If you want a firmer bar, you can adjust the baking time. Bake for up to 20 minutes for a more set texture.
Presentation Tips
When serving, stack the bars on a rustic wooden board. This adds a nice touch. You can garnish with extra mini marshmallows and a drizzle of melted chocolate to make them look even more tempting. For storage, keep them in an airtight container. This helps maintain freshness and keeps them looking good.
Common Mistakes to Avoid
One common mistake is overmixing the dough. This can make your bars tough. Another mistake is not pressing the base firmly enough. Make sure to press it down well in the baking dish. This ensures that your bars hold together nicely when you cut them.
Pro Tips
- Use Fresh Ingredients: Fresh mini marshmallows and quality chocolate chips will enhance the flavor and texture of your bars.
- Let it Cool Completely: Allow the bars to cool completely before cutting to ensure clean edges and prevent them from falling apart.
- Customize Your Add-Ins: Feel free to add nuts, dried fruit, or different types of chocolate to personalize your s’mores bars.
- Storage Tips: Store the bars in an airtight container at room temperature for up to a week or refrigerate for longer freshness.
Variations
Flavor Variations
You can change the nut butter for fun. Try almond or cashew butter for a twist. Each nut brings its own taste. If you want a richer flavor, add a drop of vanilla extract. A sprinkle of sea salt on top will enhance sweetness too. These small changes can make a big difference.
Dietary Adjustments
Want a gluten-free treat? Use almond flour or oat flour instead of graham crackers. You can also find gluten-free graham cracker crumbs in stores. For a vegan version, swap honey for maple syrup. Also, check that your chocolate chips are dairy-free. This way, everyone can enjoy s’mores.
Ingredient Swaps
You can use different sweeteners too. Try agave syrup or coconut sugar instead of honey. Each sweetener will give a unique taste. Want to change the chocolate? Use white chocolate or dark chocolate chips. Each one will bring a different flavor to your bars.
Storage Information
Room Temperature Storage
To keep your Peanut Butter S’mores Bars fresh at room temperature, store them in an airtight container. Place parchment paper between layers if stacking. This helps avoid sticking. Keep them in a cool, dry place away from direct sunlight. They stay good for about three days.
Refrigeration Tips
For longer shelf life, refrigerate the bars. Wrap each bar in plastic wrap or foil. Then, place them in an airtight container. This keeps moisture out and preserves flavor. When stored this way, the bars can last up to a week. Just remember to let them sit at room temperature before serving for the best taste.
Freezing Instructions
Freezing is a great way to save leftovers. First, cut the bars into pieces. Wrap each piece tightly in plastic wrap. Then, place them in a freezer-safe bag or container. Be sure to label the container with the date. The bars can last up to three months in the freezer. To thaw, take them out and let them sit at room temperature for about 30 minutes. Enjoy that fresh taste again!
FAQs
How long do Peanut Butter S’mores Bars last?
Peanut Butter S’mores Bars can last about one week. Store them in an airtight container. Keep them in the fridge to maintain freshness. If you leave them at room temperature, they may get soft after a few days.
Can I make these bars ahead of time?
Yes, you can make these bars a day or two in advance. This allows the flavors to blend well. Just make sure to store them properly in the fridge. They will be ready to serve when you need them.
What can I substitute for graham cracker crumbs?
If you don't have graham crackers, try using crushed cookies. Digestive biscuits or vanilla wafers work well. They will change the taste a bit but still be yummy. Just make sure the cookie flavor fits with the peanut butter.
How do I make these bars nut-free?
To make these bars nut-free, use sunflower seed butter instead of peanut butter. This keeps the creamy texture. You can also try soy nut butter for a similar taste. Always check for any allergies to make sure they are safe for everyone.
You learned how to make Peanut Butter S’mores Bars using simple ingredients. From the right tools to mixing tips, this guide has you covered. Remember, you can personalize these bars with different flavors and add-ins. Avoid common mistakes for the best texture. Store your bars properly to keep them fresh. With a little effort, you can create a delicious treat. Try these steps and enjoy a sweet snack!
.png)


